By: Maren English with Stirrups and Styles Photography
Chattanooga Tennessee, North GA photographer traveling to wherever you are!
While you might already have a good idea on how to prepare your horse for a photoshoot, I have some tips and pointers from the perspective of an equine photographer that will make your photographers job easier and make your horse look their absolute best!
The rule of thumb is, if your horse doesn't look like they could go into the show ring then they may need a little extra TLC before having their photos taken. See my top tips below to make sure your horse is looking their best!
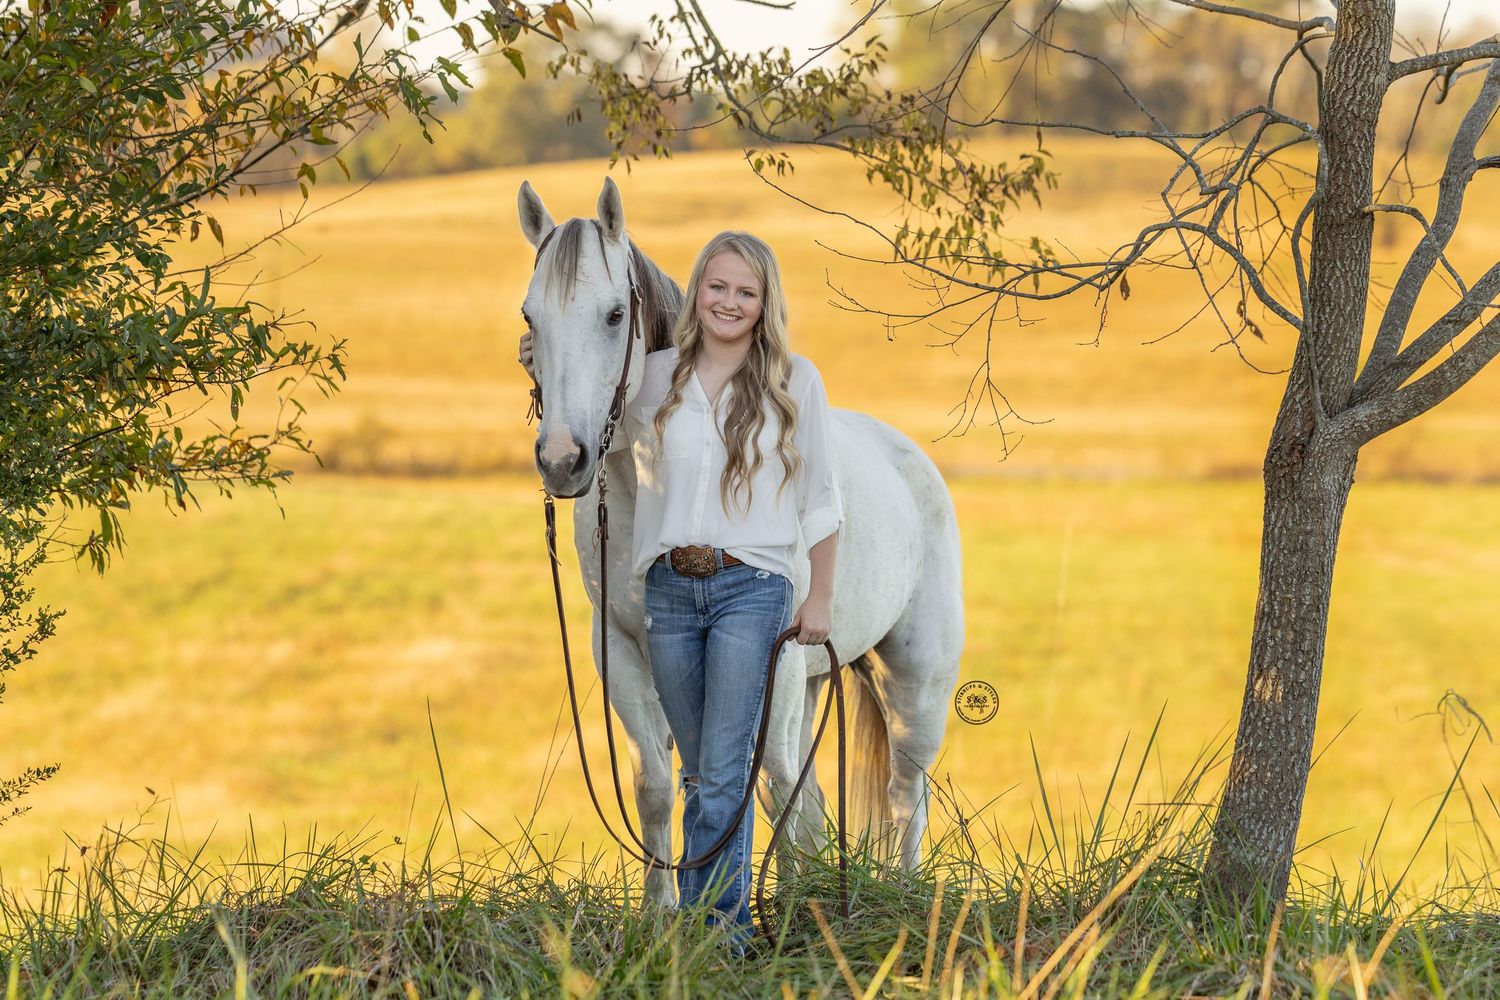
1) Prep your Pony!

No "hangry" horses
Make sure your horse has had access to grass/hay for at least 2 hours before their shoot. Having a "hangry" horse isn't fun when you start to offer them treats and they become a Cookie Monster! Making sure they have had access to food helps for them to have a calm mind and not be thinking so much about, "what's to eat?"
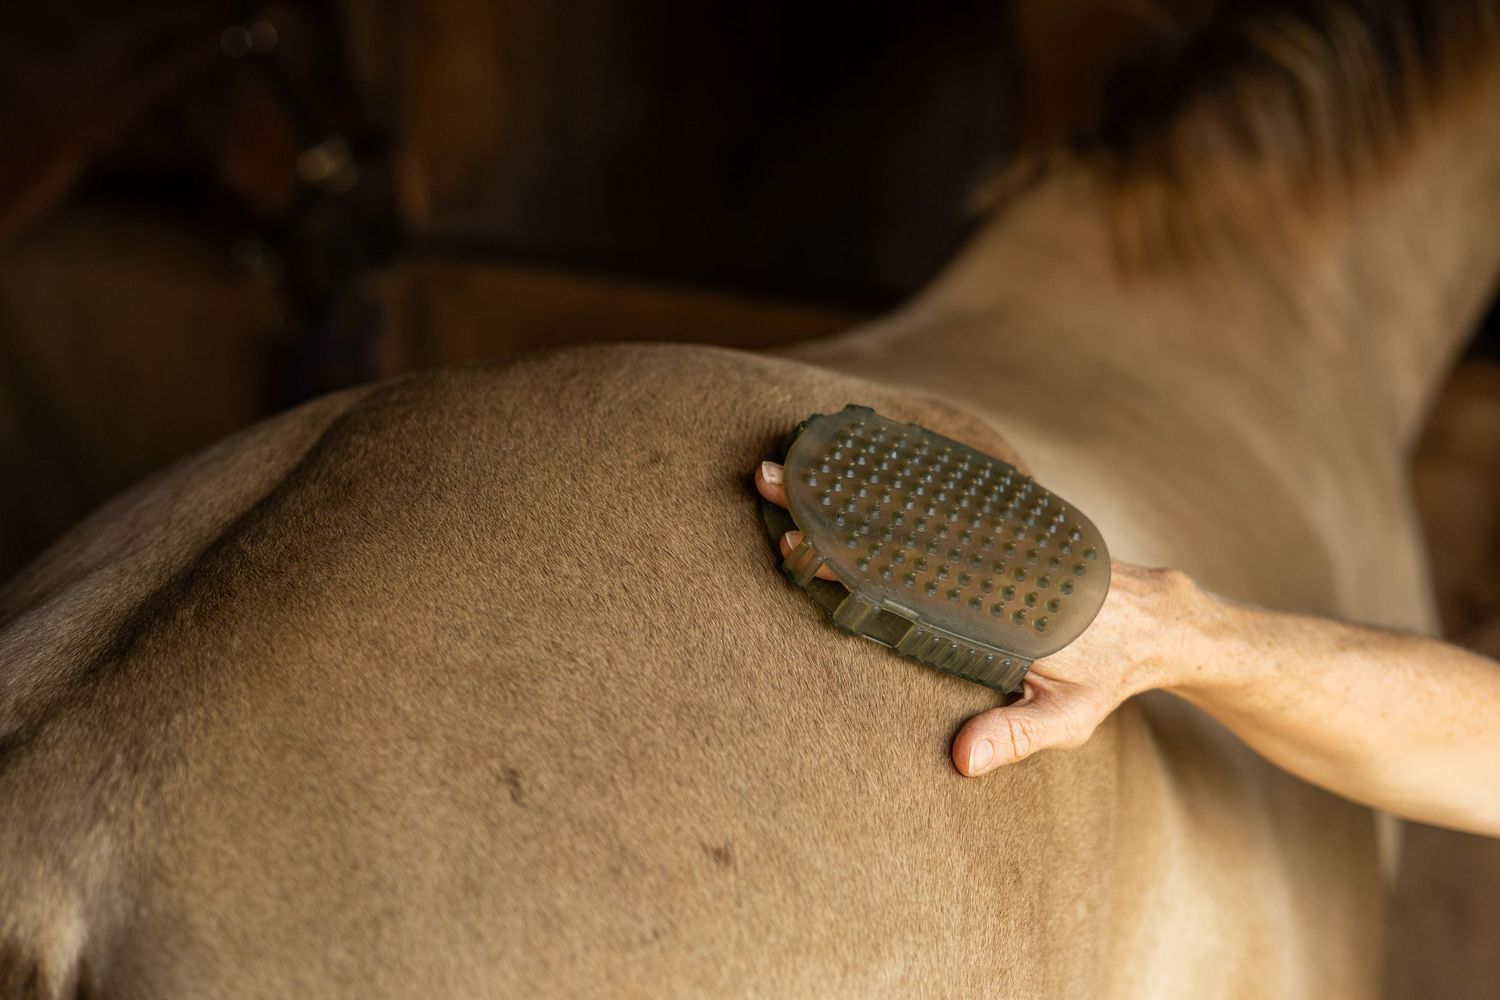
Grooming!
A well-groomed horse photographs 10x better than a quick once-over. Here’s what I recommend:
- Bathe if the weather permits
- Brush the tail and mane thoroughly. Having a brushed out tail will make an incredible difference in the photos.
- Use oil for that extra hoof shine. I recommend baby oil, as less dirt tends to stick to their hooves during the photoshoot.
- Gloss/shine spray is great (avoid the saddle area)
- Fly spray for comfort
Optional but highly recommend:
- Professional braiding
- Using purple shampoo for white spots during their bath
- Clip bridle path, and under chin a week in advance
We cannot forgot the importance of grooming and bathing your horse! I always recommend bathing your horse the day before, or the morning of their photoshoot day, depending on if you are planning to have your shoot done during the sunrise or sunset.
If you are a dressage, jumper, or eventer I recommend button braiding your horses mane.
If you are a reiner, barrel racer, or cutter and your horse has longer mane, then banding works perfectly, and it looks amazing!
Your horses hooves are most likely going to be in a couple of photos. I recommend using baby oil on their hooves to help them shine! I love baby oil way more than hoof oil because grass, pebbles and hair are less likely to stick to baby oil then they would to hoof oil.
Pro tip: a tiny amount of baby oil on your horses nose, around their eyes, and ears helps them standout!
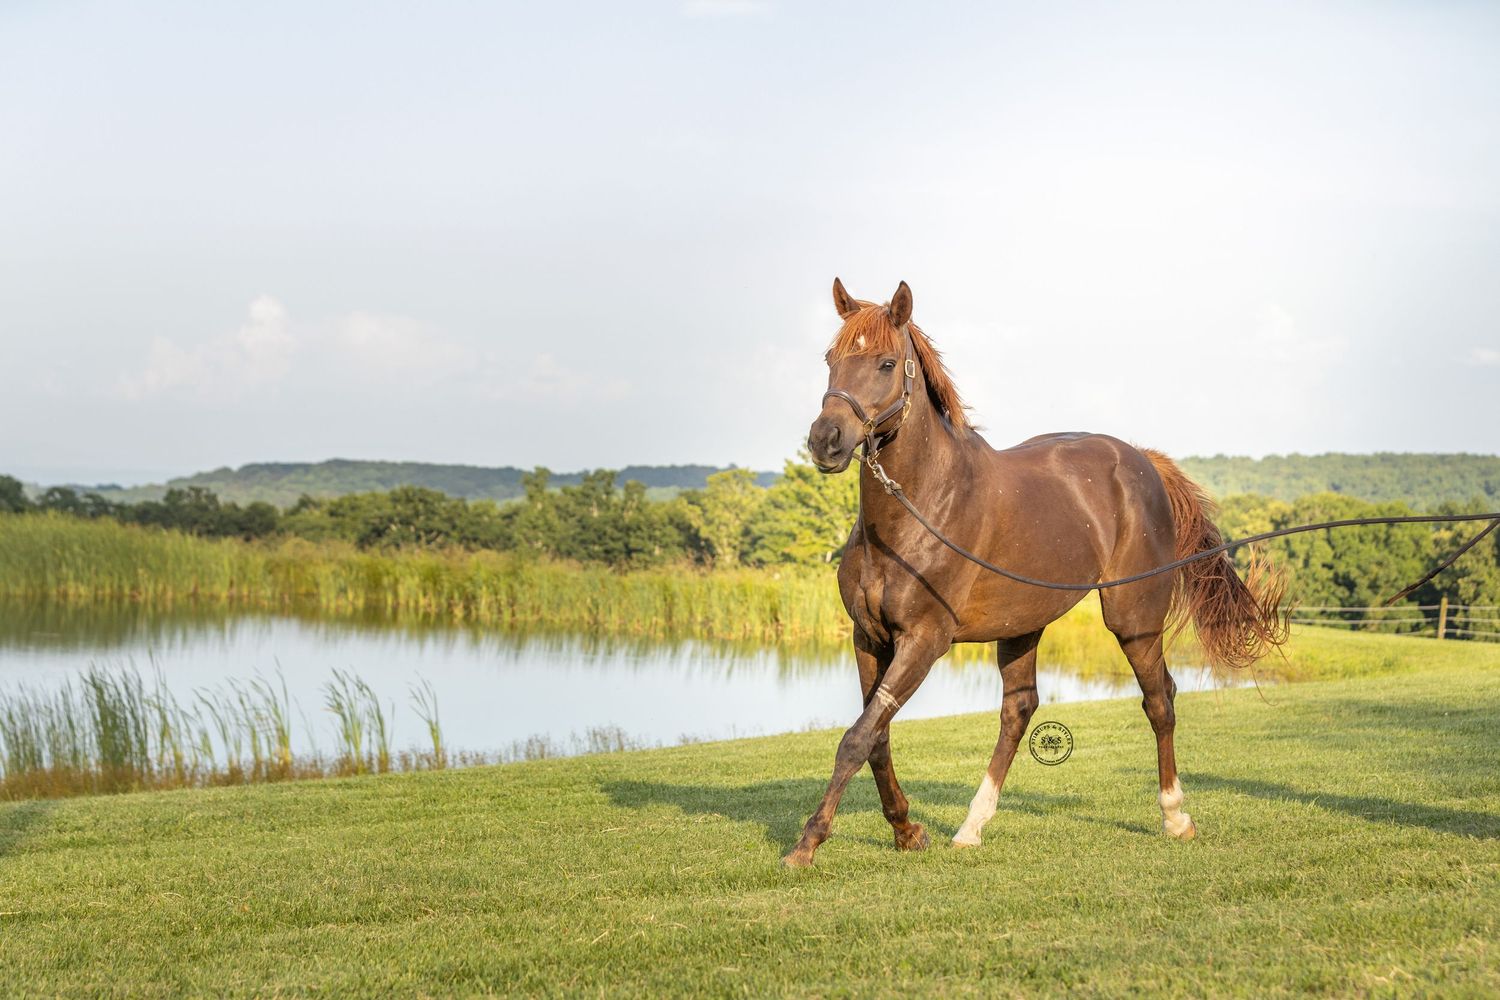
Lunge
If your horse has been up in the stall all day, or tends to be on the spookier side then PLEASE, PLEASE, PLEASE lunge them! This helps to get their brain working before their shoot. Don't ask them for much, as we don't want for them to sweat, but we do want them to have a chance to get their wiggles out before we ask them to stand and pose for 30+ minutes.

Tack
If you are planning to include tack in your photos, make sure to clean and oil them.
Wash saddle pads, leg wraps, and splint boots.
For equine portraits I almost always recommend the "naked halter," but if you have a leather halter or bridle that you would love to see you horse in, then plan to have them wear it a week or so before their shoot and then oil or condition it to help break in the leather. Unused leather is stiff and can look unnatural in photos so having a couple days for it to soften up can really make a world of difference.
What the heck is a "naked halter?"
Pick tack that matches your style:
For dramatic fine art looks: clean leather, simple and classic. Try to stay away from lots of extra tack.
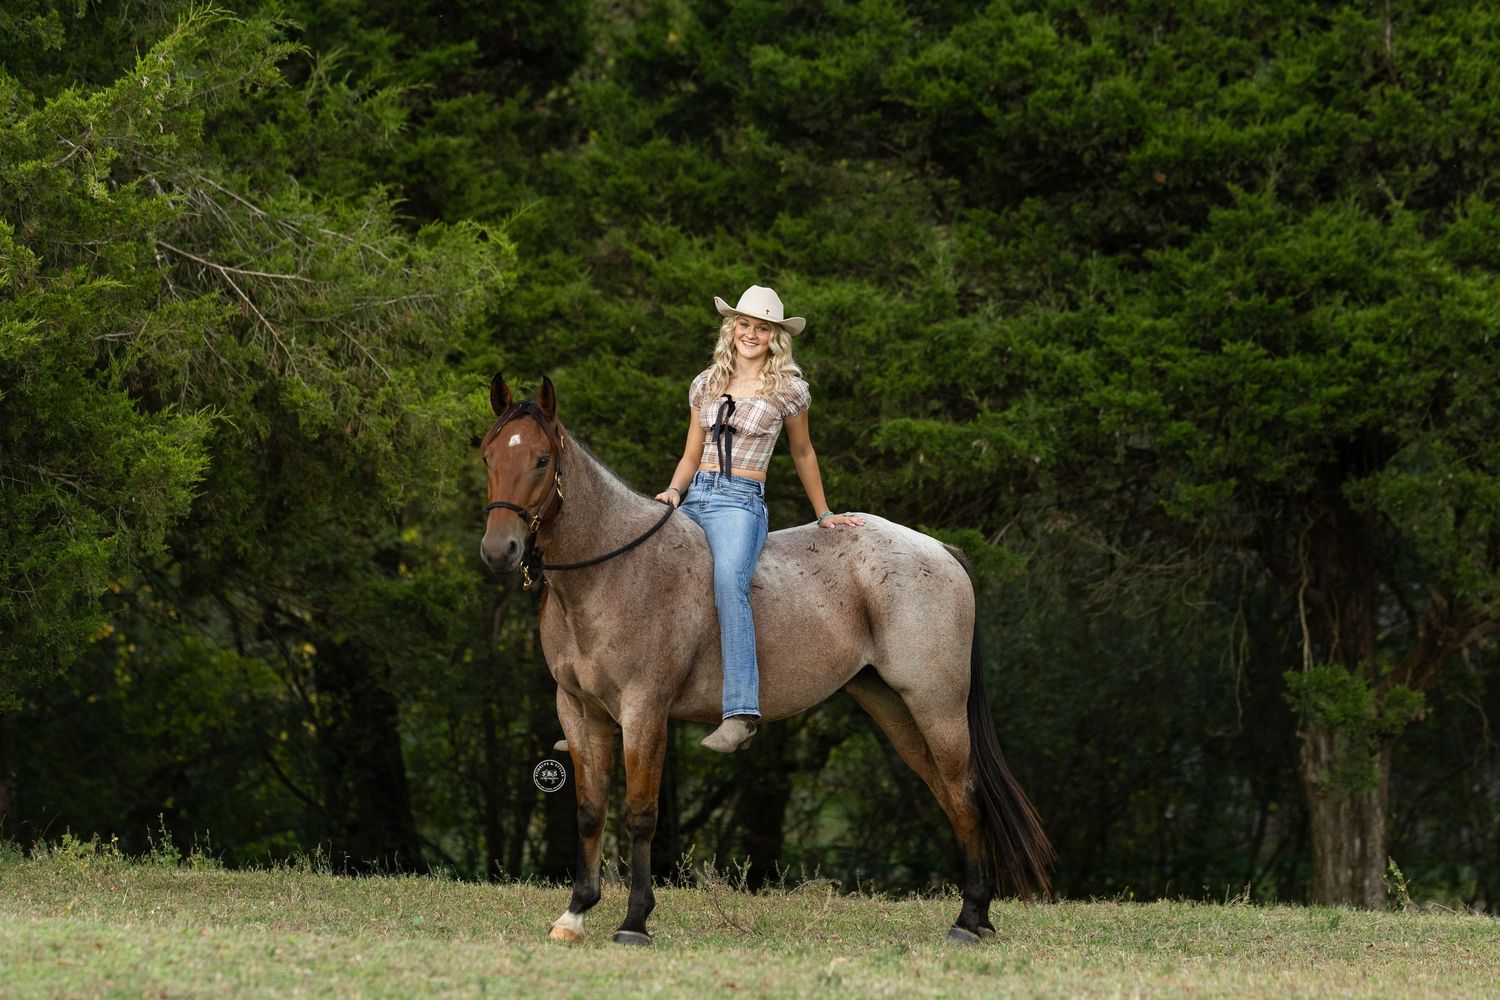
For casual lifestyle: halters, rope halters, bareback, western etc.
Try to avoid, fuzzy, mismatched, and patterned tack (unless you are going for that vibe).
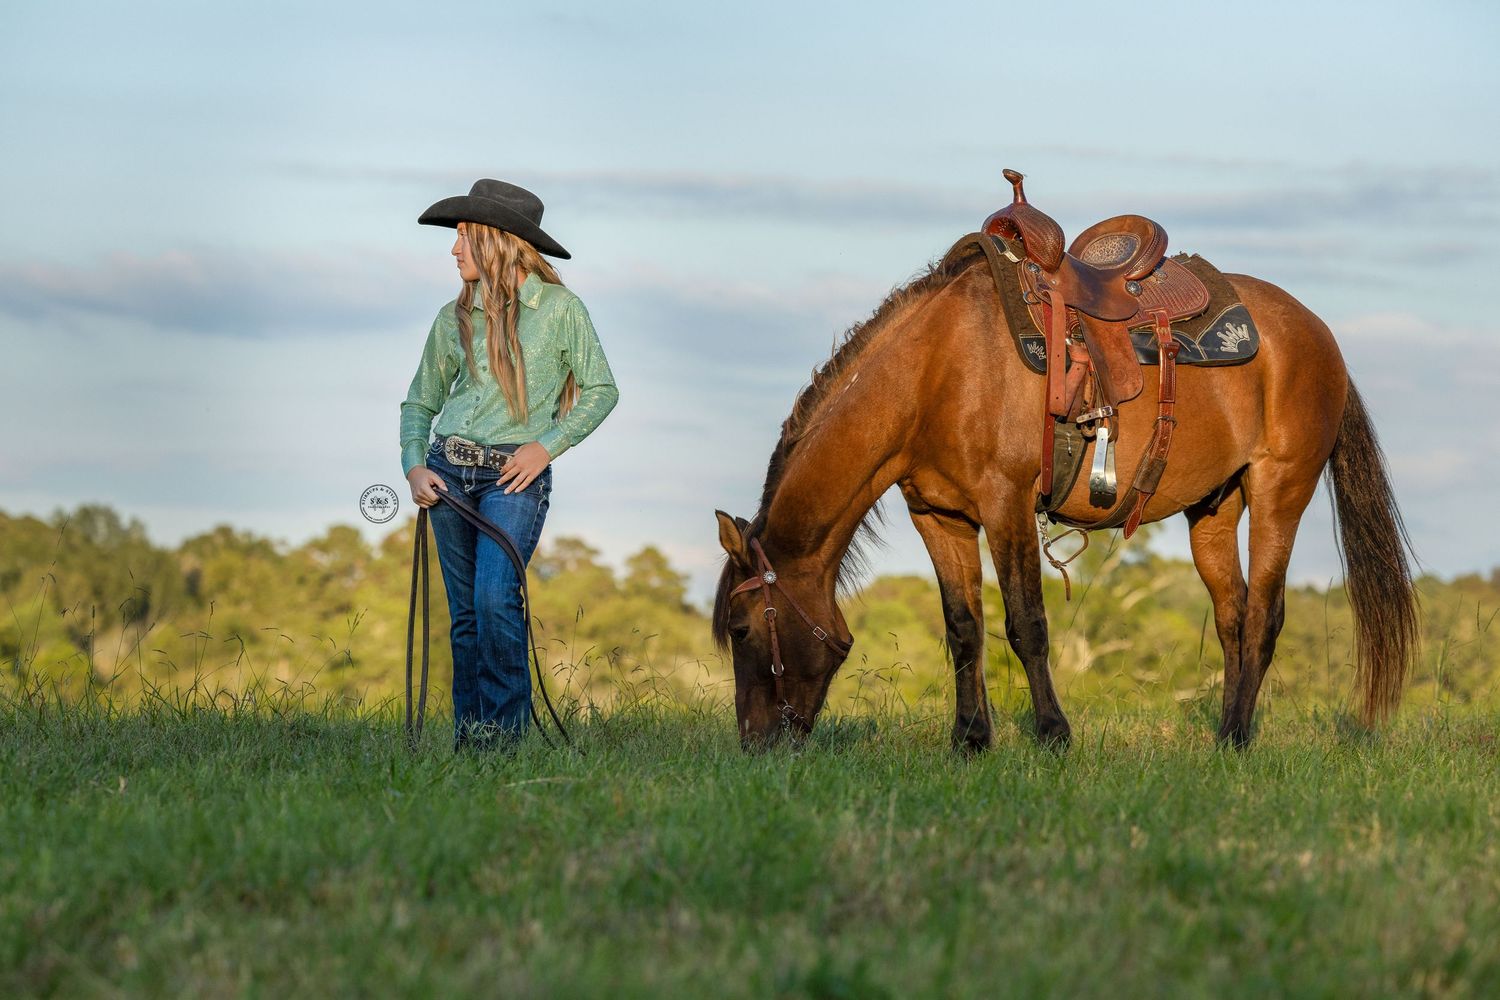
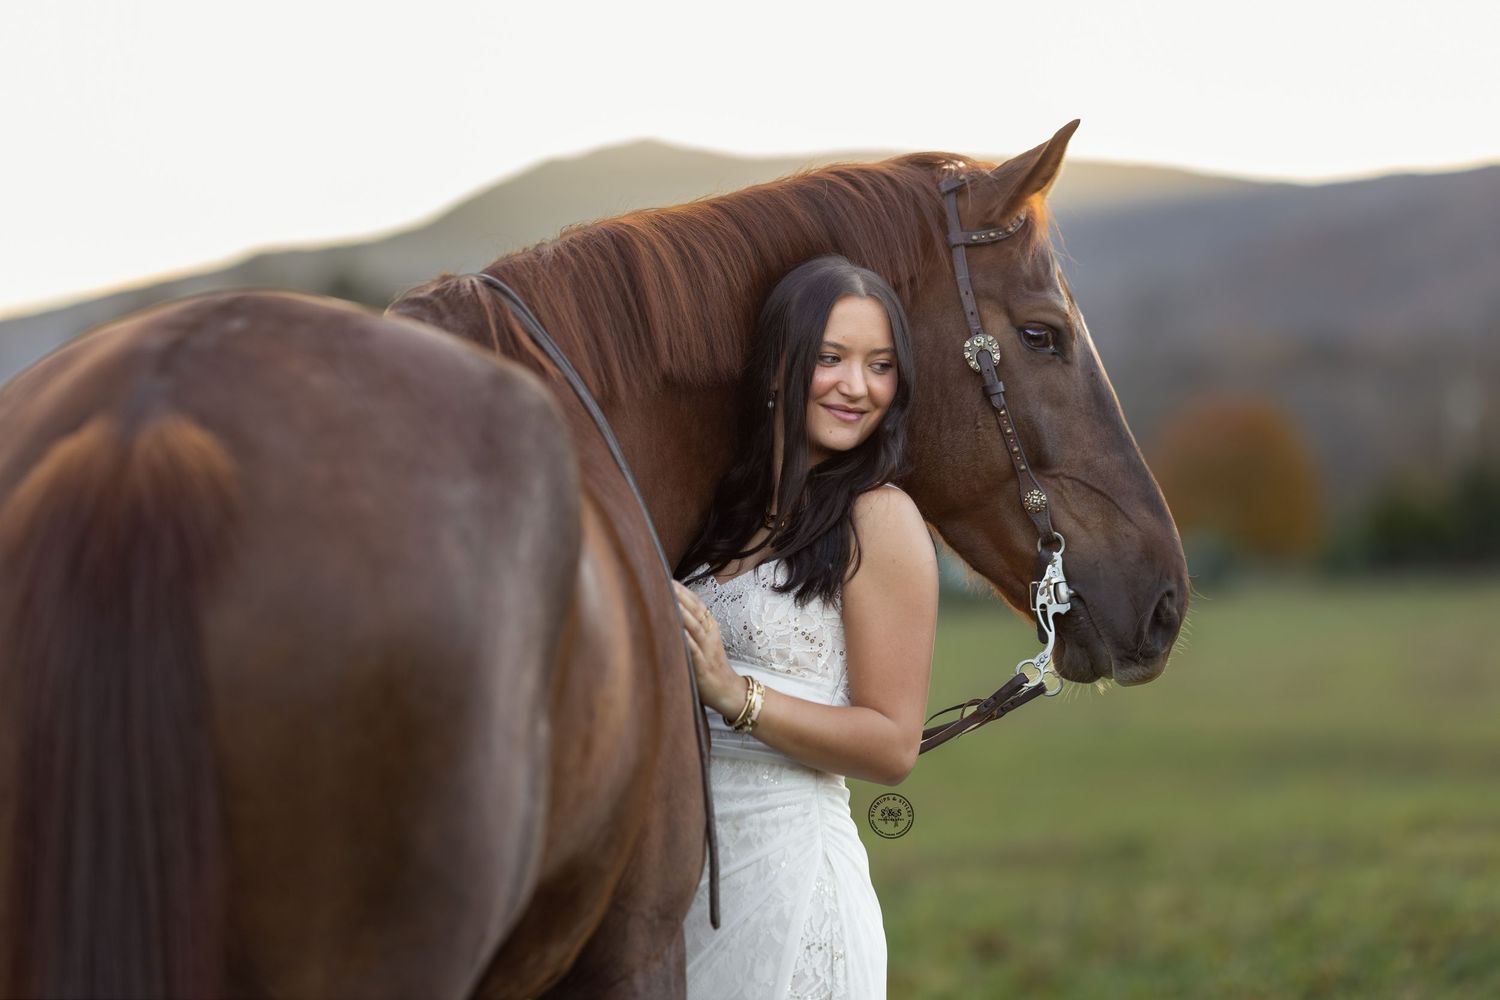
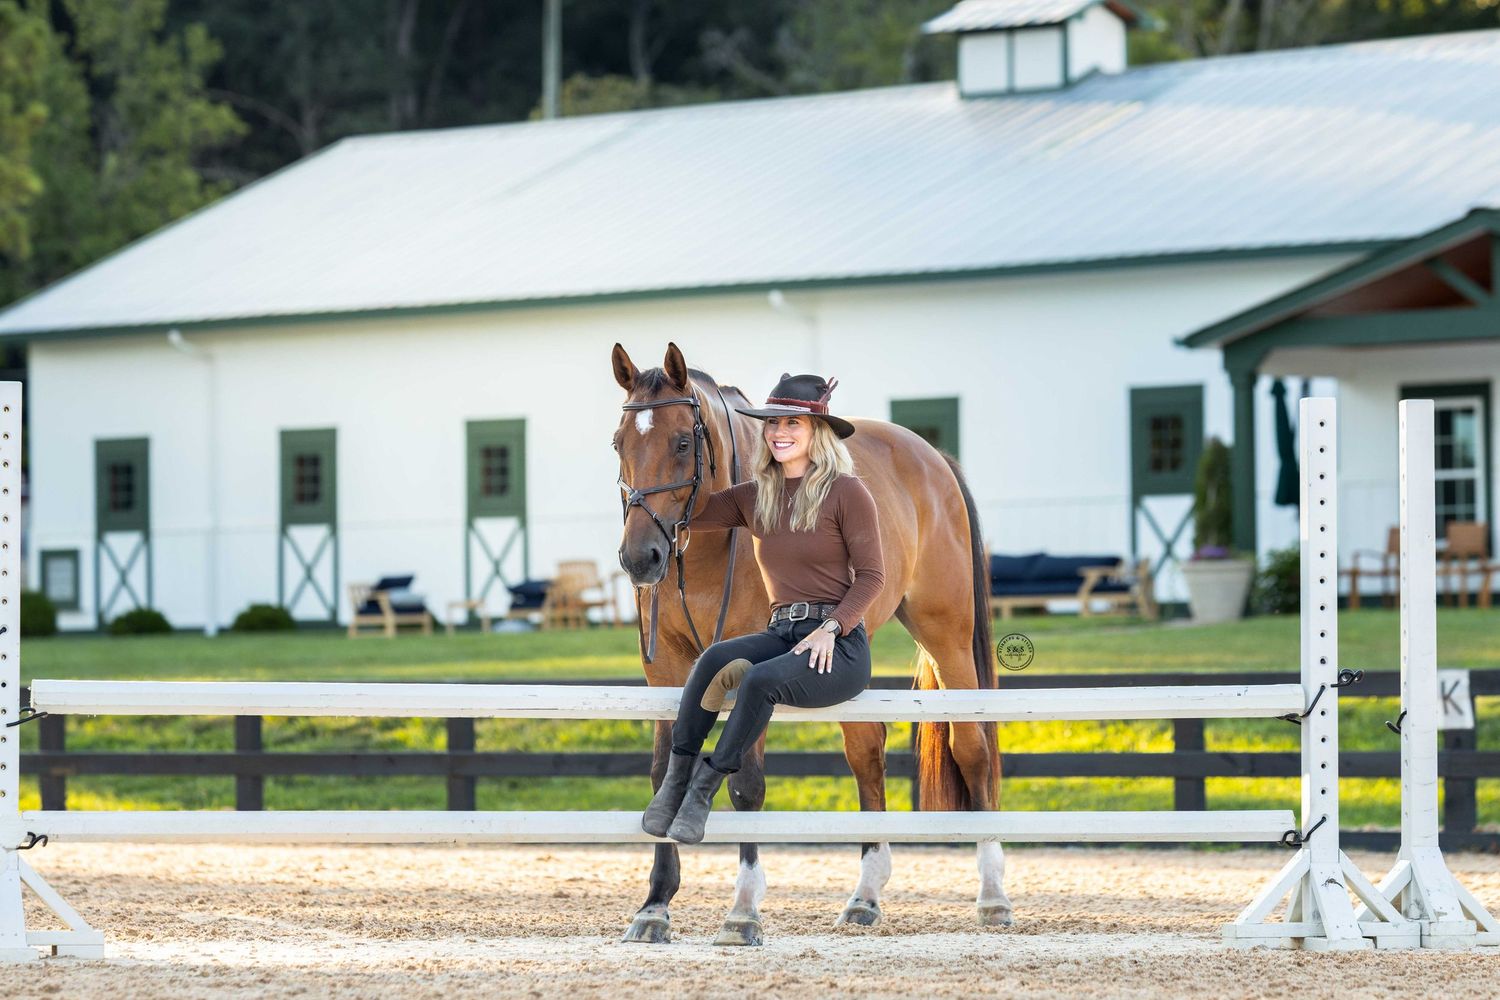
Location, Location, Location
Before your photoshoot day, walk around and keep in mind some of the best areas on the property that you love, and where your horse feels most comfortable. If it's a new location that you think would be nice, take your horse there and let them see it before your shoot to make sure they are comfortable with that area.
2) Preparing the Rider (YOU)
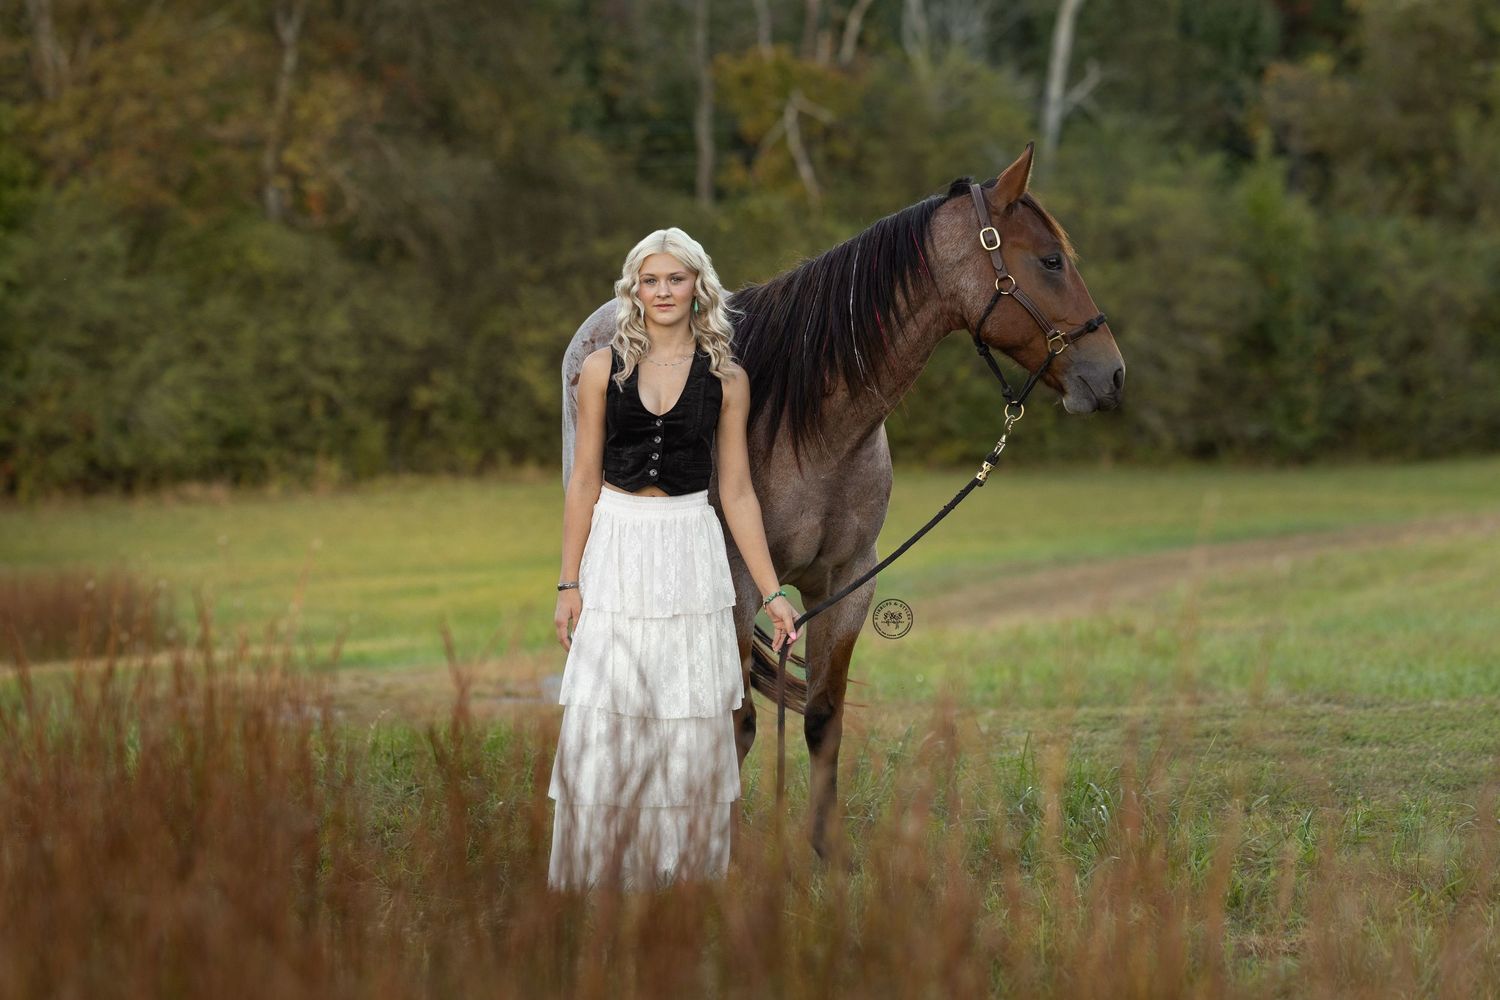
Wardrobe
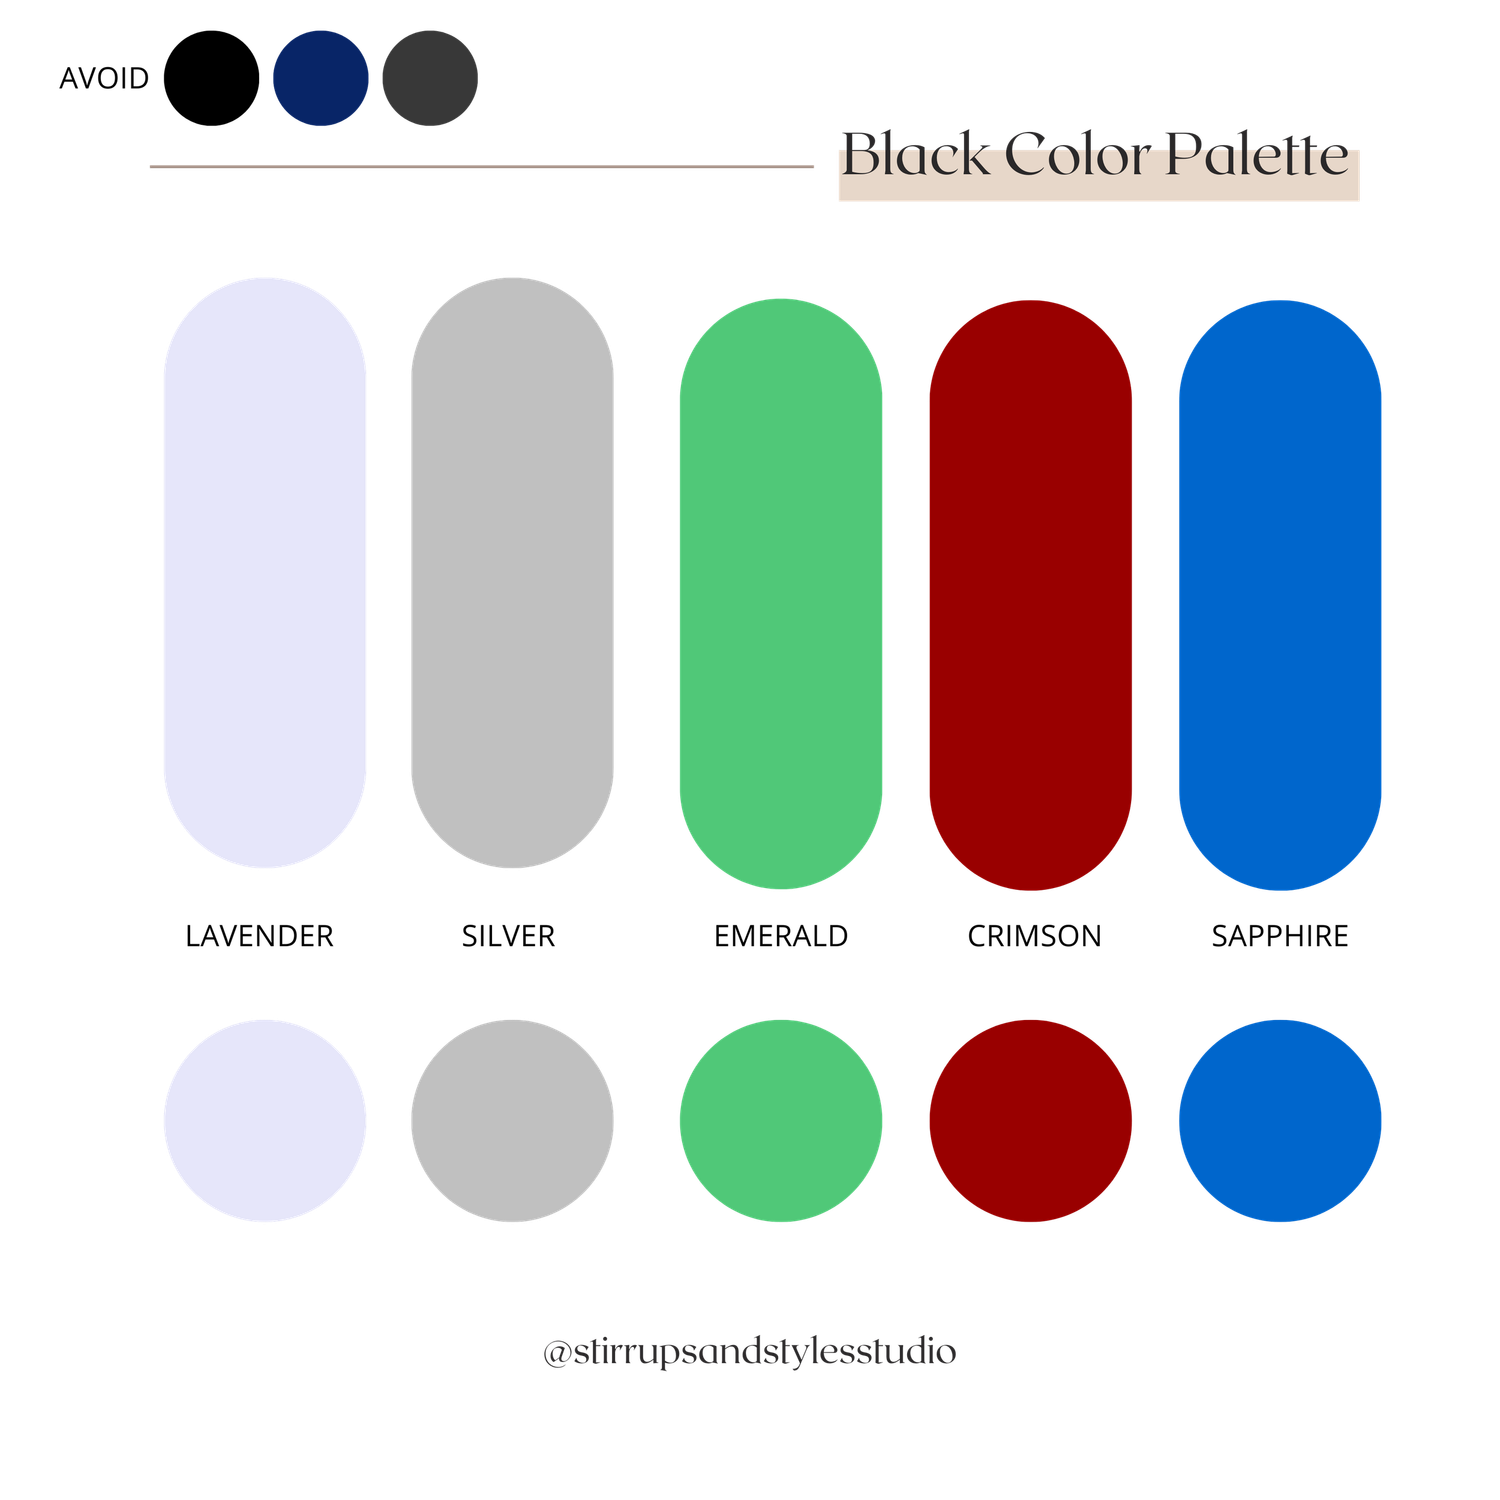
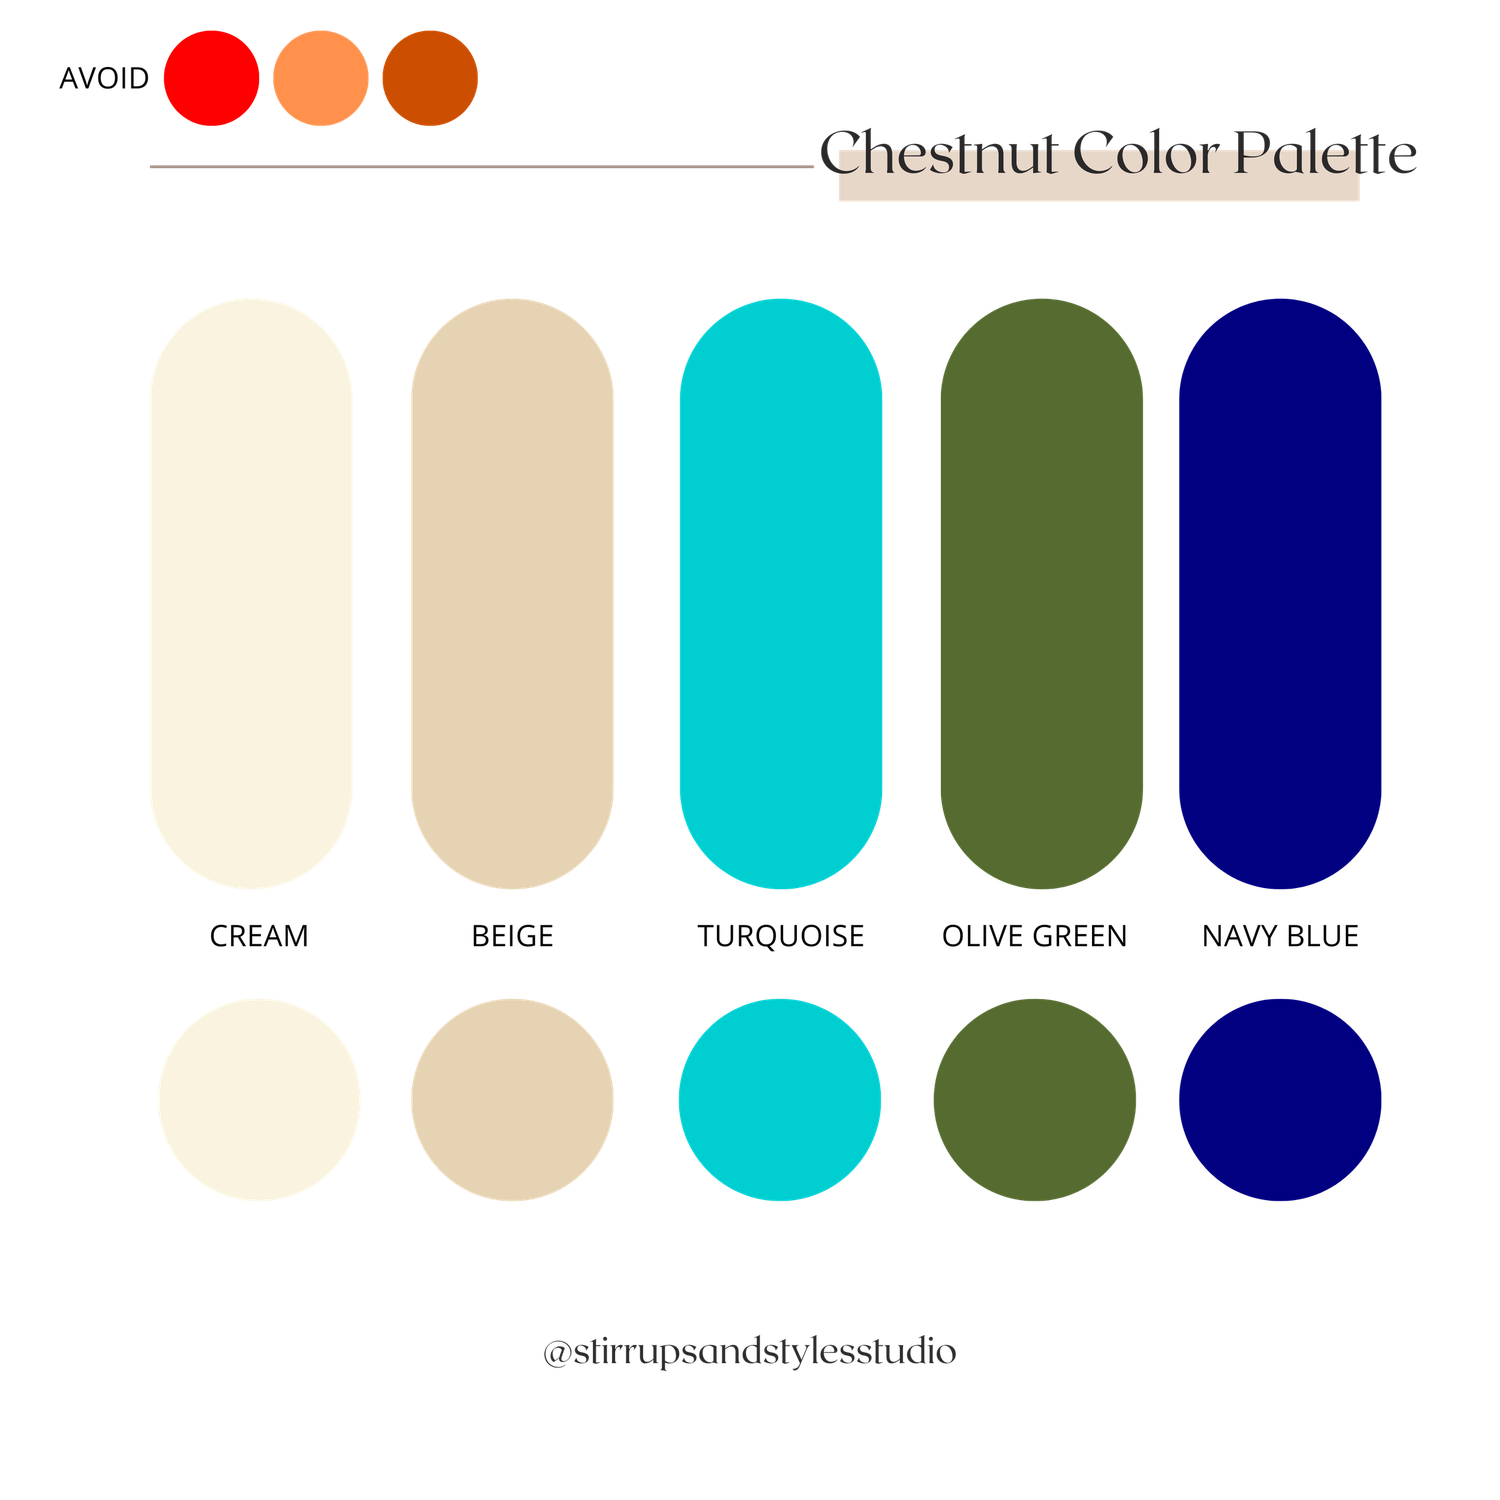
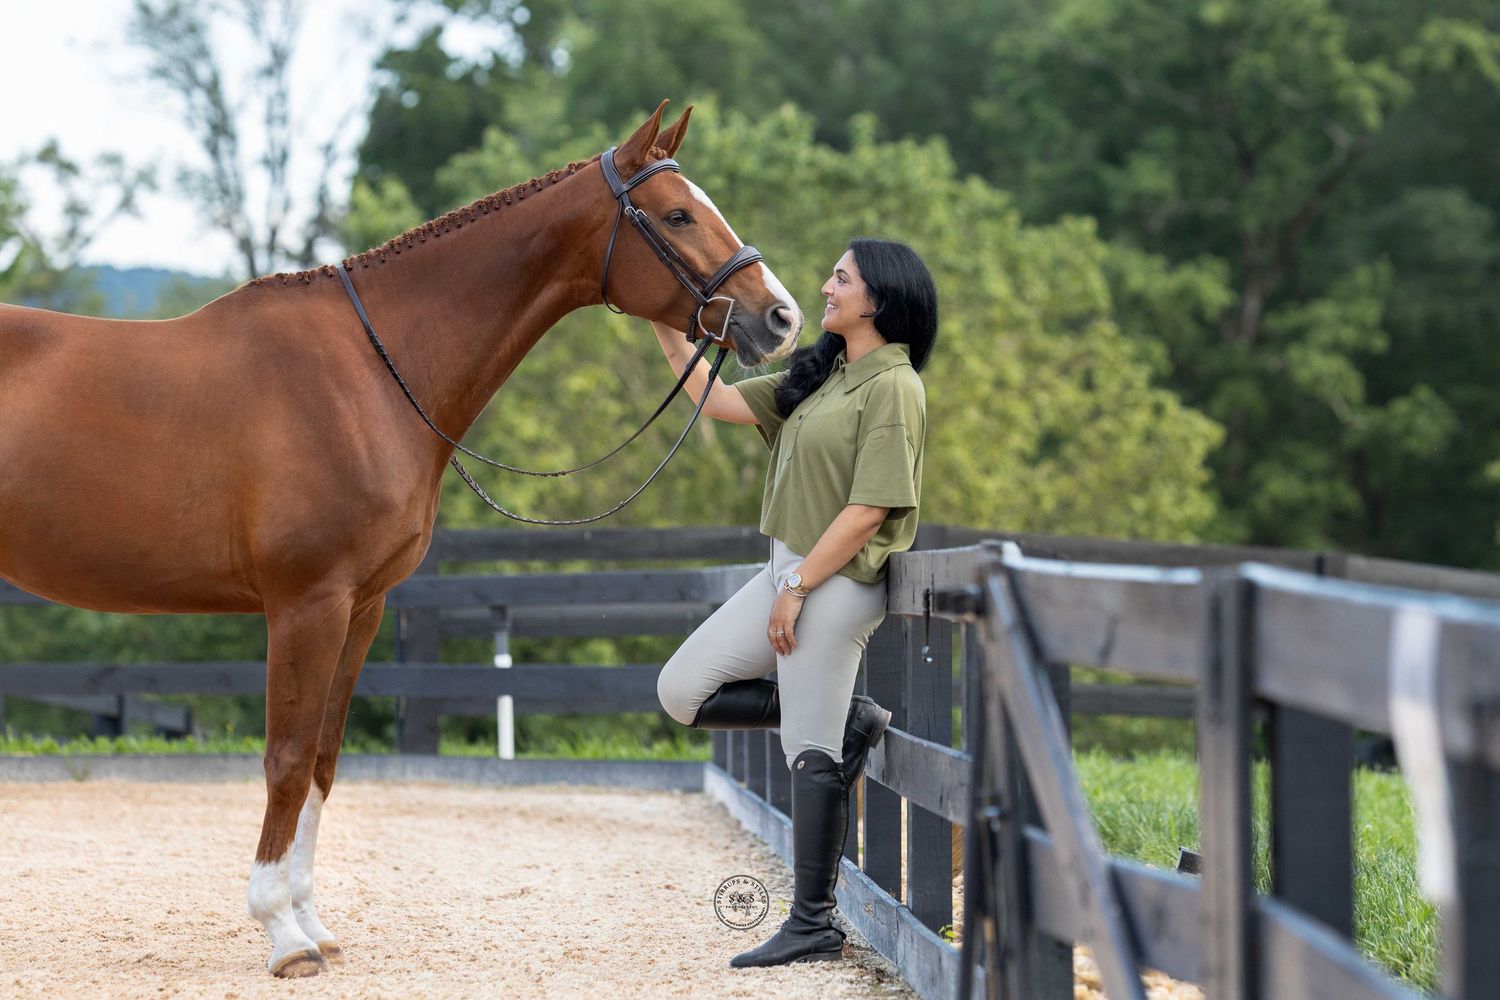
Stick with colors that compliment and match your horse. Neutrals almost always win.
- White
- Tan
- Denim
- Forest green
- Black
- Earth tones
- Burgundy
Avoid, neon colors, distracting patterns, and shirts with large logos or prints (unless you've booked a branding shoot)
Choose outfits that make you feel confident and comfortable. If you don’t feel good in what you’re wearing, it can show in the photos. So pick something that feels like you! Whether that’s a dress, show clothes, jeans and a buckle, or your favorite cowgirl hat, the most important thing is that you love how you feel in it.
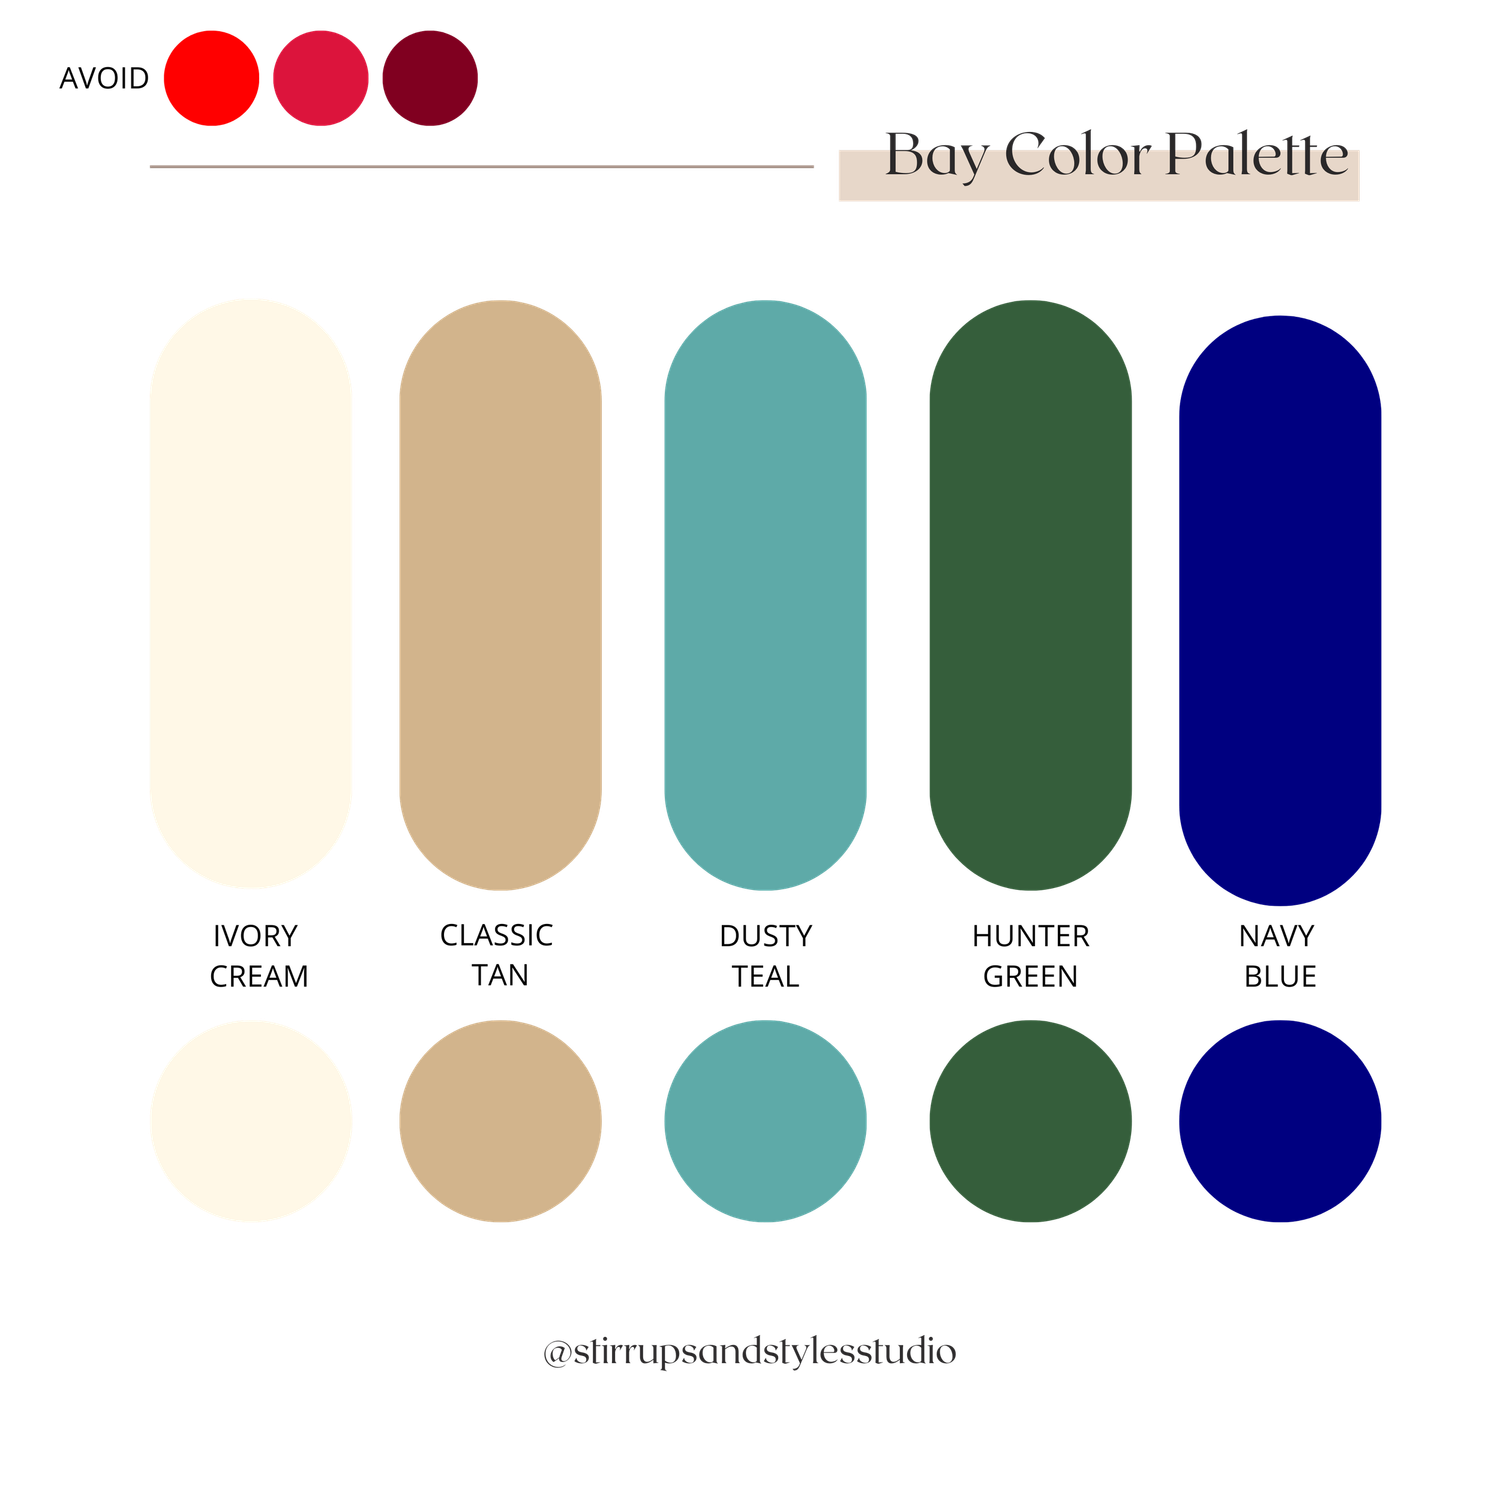
Read more about color matching your horse by clicking the button below! I go into detail about which colors best match your horse!
3) What to Expect Day of
When I arrive
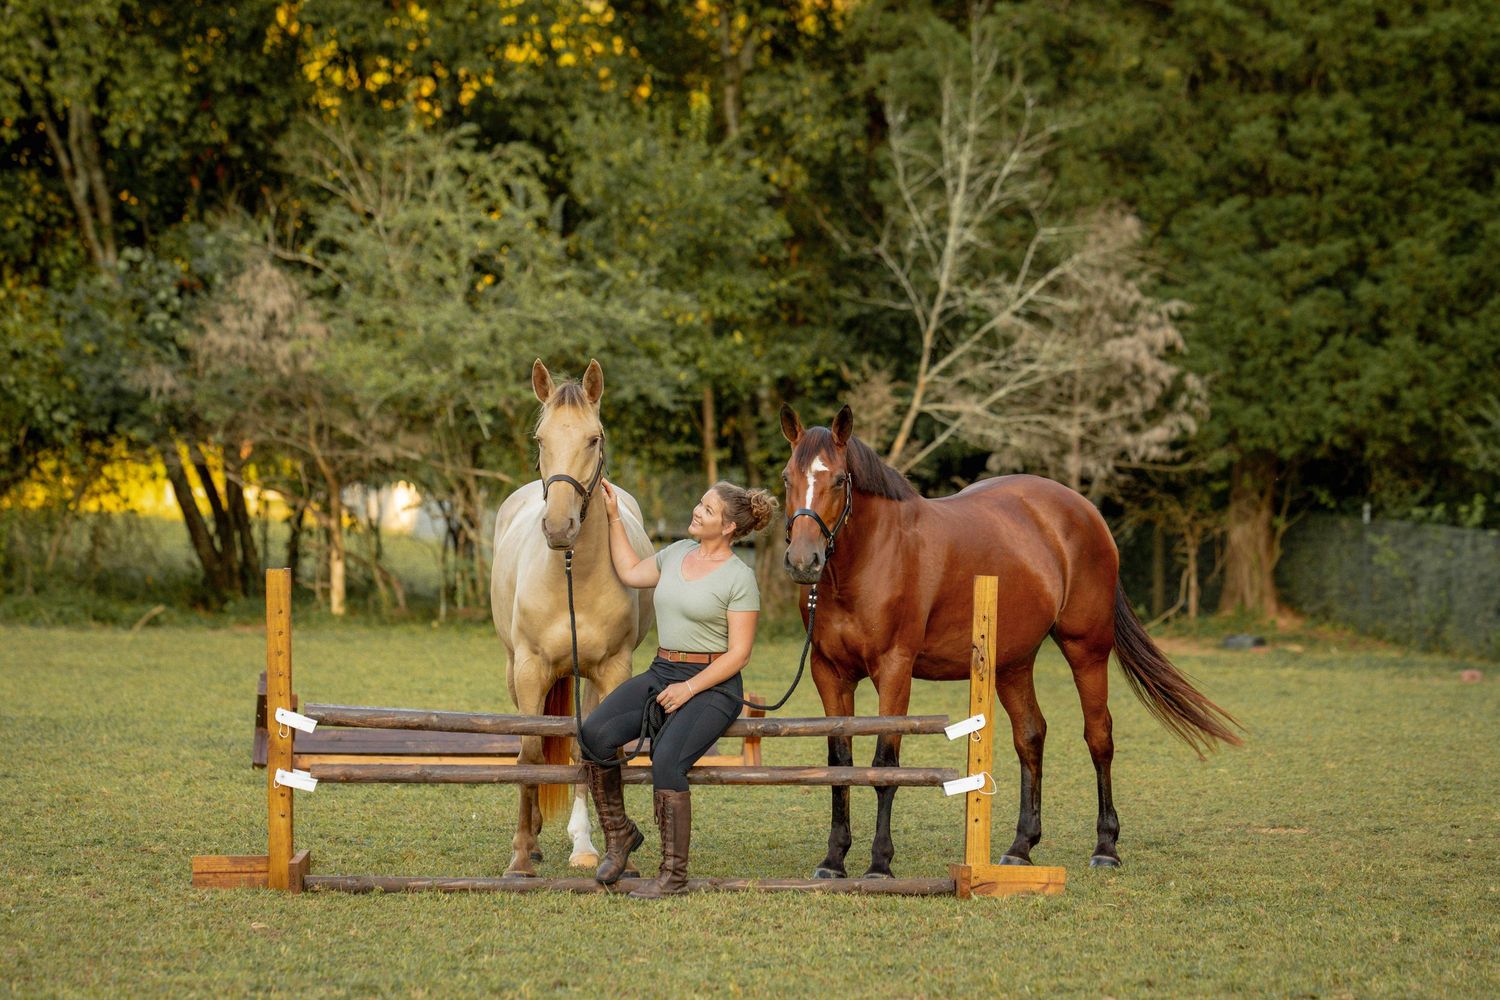
Expect me to be there anywhere from 10-15 minutes before our scheduled time. I'll most likely be in my branded t-shirt, a messy bun, and my camera in hand! I'll introduce my assistant, and then take a quick walk around to see the lighting options, and get an idea of the flow of the photoshoot. Once I've got an idea of how I want to structure the photoshoot, we begin! If you've booked an equine portrait session, we'll start with that one first in a covered aisle way or shady area. During this time we'll do any sort of halter, or bridle change to make sure you have a selection of photos. We'll then head out and start on your horse and rider photos. Expect me to look a little cra-cra as I move around and see which lighting looks best. I'll be giving instructions to you, and my assistant and most likely either laying on the ground or hiding in the bushes to get the dreamy photos you booked me for!
Bring a Helper
Having a helper isn't mandatory but I do recommend inviting someone who makes you comfortable, and would be willing to jump in and help fix a stray hair, straighten saddle pad, or hold a horse.
I almost always have an assistant with me. Having someone who knows me and my style helps keep the photoshoot running as smoothly as possible. But I do recommend having another helper, just in case!
Posing
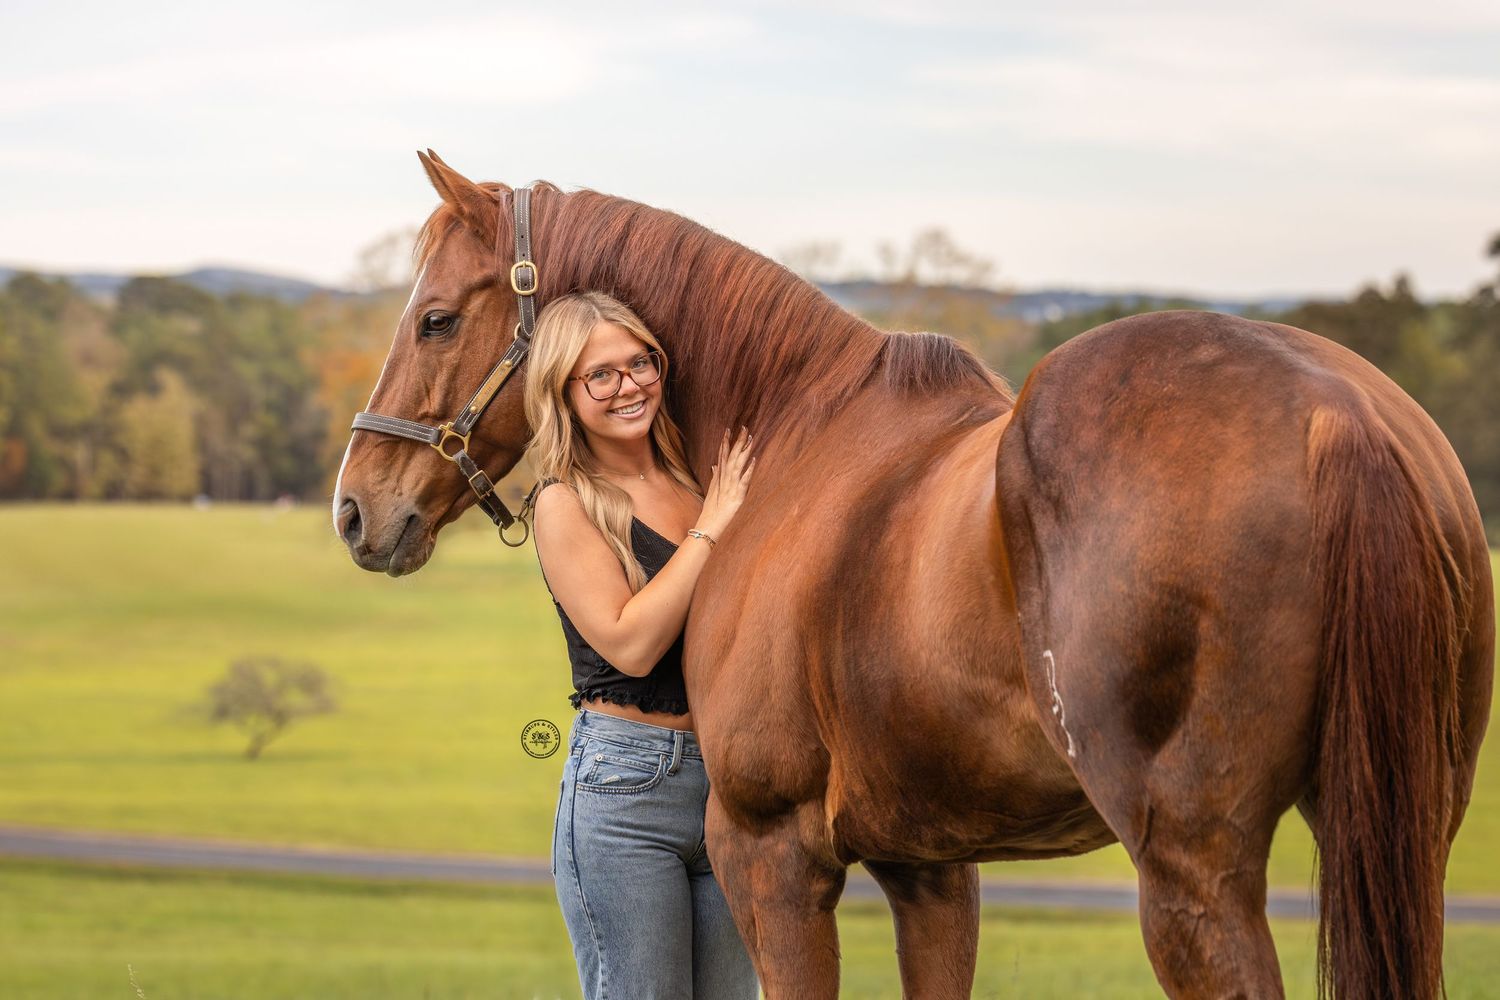
I have a guide just for you on which poses I like to use and how you can be prepped and familiar with which ones I'll most likely ask you to do!
Click the button below for the horse and rider posing guide
4) Weather and Timing
Lighting and Poor Weather
Early morning, evening golden hour, and slightly overcast are the best conditions for photoshoots.
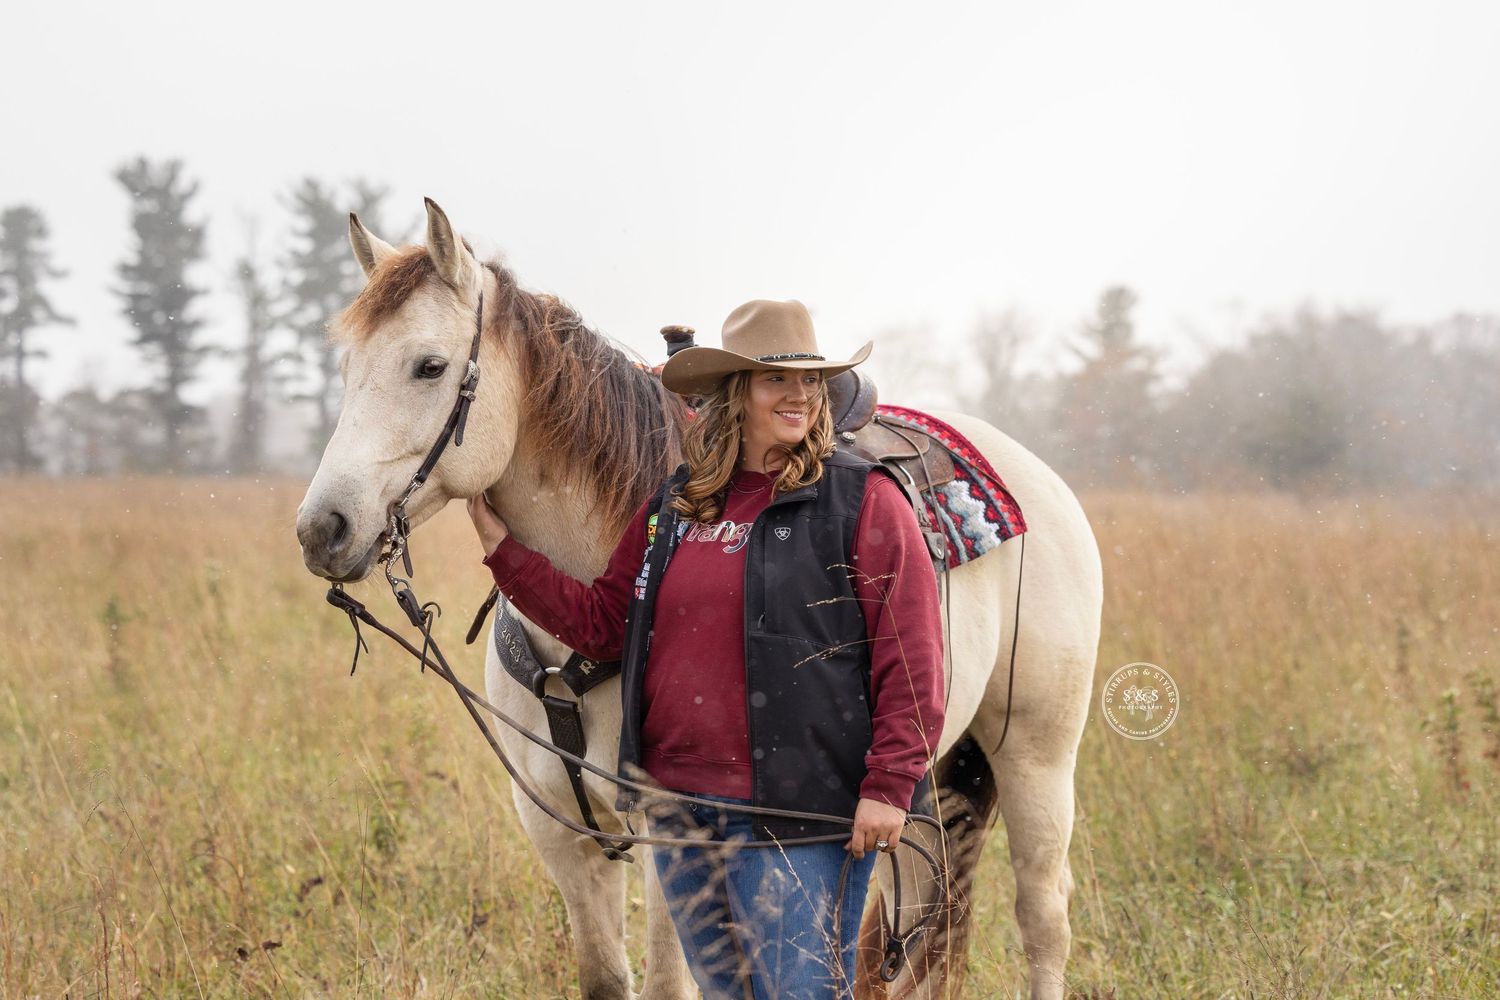
I will most likely schedule your photoshoot for evening golden hour, as this is when the lighting is the best for photos. But if there is rain predicted in the forecast, I watch it like a hawk, and I try to be as flexible as I can to make sure there is a date we can reschedule to if needed. If there is a slot of time earlier in the day where there is less of a chance of rain I might suggest moving to an earlier time to make sure we can keep the same date. If we do have to reschedule I try to find a date that is as close to the original date as possible. I've worked with snow, rain, and poor lighting. If you're willing to be flexible, there is almost always a solution!
Master Checklist:
For the horse:
- Curry + brush
- Clean face + hooves
- Fly spray
- Treats
- Water + break if needed
For the rider:
- Outfit chosen and ironed
- Backup outfit if you want variety
- Water/drink
- Boots cleaned
Most importantly, BE EXCITED! Photoshoots are meant to be fun! You are the star, and we want for you to feel like one! You don't have to be perfect, and neither does your horse! Photos capture the moment, the trust and relationship you have with your horse is what matters!
I'm so excited!! See you soon!